‘Hello World’ in Flyte

In my previous article on Flyte, I listed out the salient features of Flyte, which can help you decide if Flyte is the right orchestration platform for you. In this article, you will understand how tasks and workflows in Flyte can be used to implement ‘k’ nearest neighbours in Python.
The building blocks of Flyte are:
Tasks: It is a versioned, and shareable unit of execution that encapsulates your code.
Workflows: It is a directed acyclic graph (DAG) of units of work encapsulated by nodes to describe the order of execution of tasks.
Let’s dive into the implementation details.
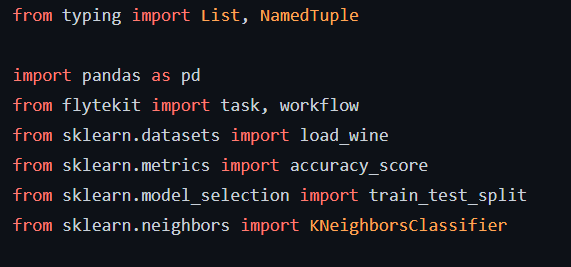
Import the required packages.
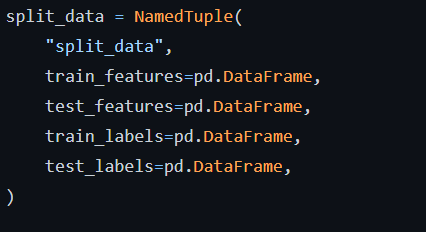
Define a NamedTuple that provides a name for the output (useful while displaying the output on the console).
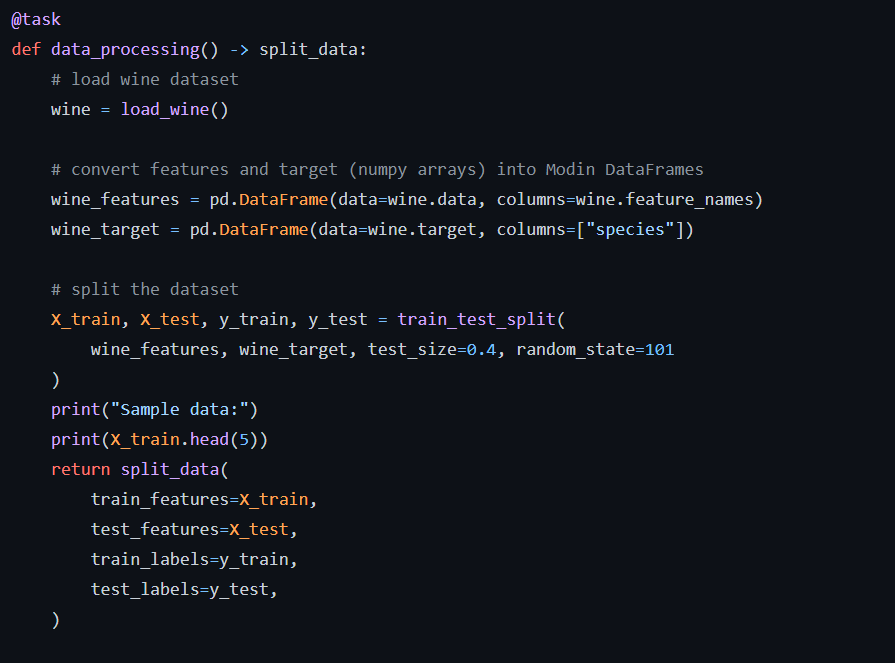
Define a task that loads the wine dataset into your environment and splits it into train and test data. Notice the ‘@task’ decorator specified at the beginning of the method.
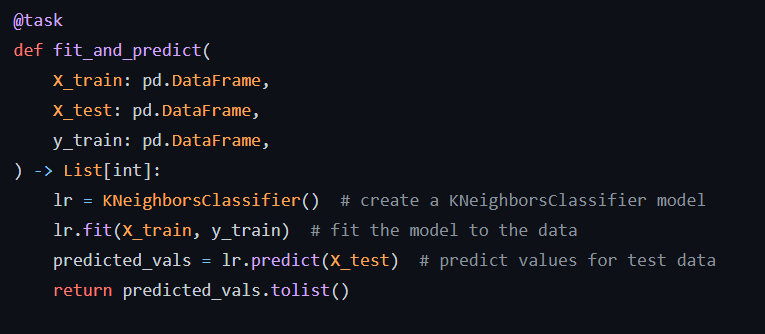
Define another task that creates a K-nearest neighbour model and fits the model to the data. The predict function is used to predict values from the test data and store them in a list.
Define another task that determines the accuracy of the model based on the actual values and predicted values using the “accuracy_score” method.

Define a workflow (annotated with the @workflow decorator). This workflow lists the tasks in the order in which they are to be executed.
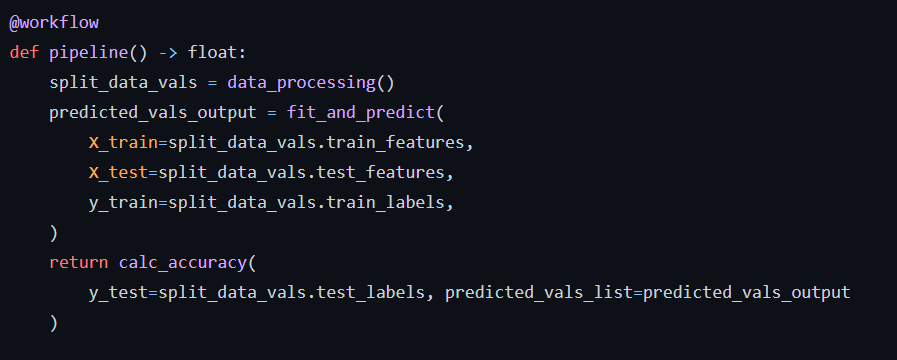
The pipeline is invoked, which displays the accuracy of the models.

The full code can be found here.


